Tags
December 2024
November 2024
October 2024
September 2024
storage unit
Best of Mach Loop
August 2024
Mobile Toolbox
Jordan moving to Chicago
July 2024
Mini Noguchi Table
June 2024
Flipside 2024
May 2024
hail damage repair
Plant Camp Prep
Eclipse Utopia
Deck and water damage
April 2024
March 2024
February 2024
January 2024
December 2023
November 2023
Brain Tumor
Annular Eclipse Utopia
October 2023
Back Door Repair
September 2023
August 2023
Camping New Mexico and Colorado
July 2023
Trail Work
Duplex Renewal
June 2023
May 2023
Amber and Nathans wedding
April 2023
March 2023
February 2023
Freezerburn 2023
January 2023
December 2022
November 2022
Greece and Spain
October 2022
September 2022
August 2022
July 2022
June 2022
Flipside 2022
May 2022
April 2022
March 2022
February 2022
January 2022
December 2021
November 2021
October 2021
September 2021
August 2021
July 2021
Thirtieth Anniversary in Maui
June 2021
May 2021
April 2021
March 2021
Bathroom Sink Project
February 2021
Snow
January 2021
Palo Duro Canyon
December 2020
November 2020
Printed Houses
Audi For Sale
October 2020
Sol Horizon
September 2020
Colorado Camping
August 2020
July 2020
June 2020
May 2020
Reggies Foot
April 2020
Terlingua 2020
March 2020
February 2020
new neighborhood
Kaili's BDay in NYC
January 2020
December 2019
Pool Controller Project
November 2019
Thumb Injury
Garner State Park
October 2019
September 2019
August 2019
Jordan Graduation
France 2019
July 2019
June 2019
Datical Headshots
May 2019
April 2019
March 2019
February 2019
January 2019
Christmas in NYC
December 2018
November 2018
October 2018
September 2018
Lake Tahoe Summer 2018
August 2018
July 2018
San Miguel de Allende
June 2018
Flipside 2018
May 2018
April 2018
Llano Ranch Trip
March 2018
Paris 2018
February 2018
Freezerburn 2018
January 2018
New Years in Santa Fe
December 2017
Pool Deck Project
November 2017
October 2017
Athens Wales and London
Tom and Jeff's Wedding
September 2017
Garage Cabinet Project
Eclipse in Illinois
August 2017
July 2017
Steve To NYC
June 2017
Flipside 2017
May 2017
April 2017
March 2017
February 2017
Freezerburn 2017
January 2017
December 2016
November 2016
October 2016
September 2016
August 2016
July 2016
June 2016
Flipside 2016
May 2016
April 2016
March 2016
February 2016
Freezerburn 2016
January 2016
December 2015
November 2015
Datical Halloween Fun
October 2015
September 2015
August 2015
July 2015
European Vacation 2015
Jordan High School Graduation
June 2015
Flipside 2015
May 2015
April 2015
April 2015
Wonderlounge Tent Build
March 2015
Shop Construction
February 2015
Pool Mosaic
January 2015
Dante Art Project
December 2014
November 2014
Pool Construction
October 2014
September 2014
August 2014
July 2014
June 2014
Flipside 2014 from the air
Flipside 2014
May 2014
April 2014
March 2014
February 2014
Big Bend Camping
January 2014
December 2013
Formula 1 2013
November 2013
October 2013
Alexa and Aarons Wedding
September 2013
August 2013
Lee Doctor Who Play
Epic Camping Trip 2013
July 2013
June 2013
Flipside 2013 from the air
AMS Commencement 2013
April 2013
March 2013
February 2013
January 2013
New Years on the Rio Grande
December 2012
Formula 1 Austin
November 2012
October 2012
September 2012
August 2012
DC and NYC 2012
July 2012
June 2012
Ocracoke 2012
Flipside 2012 from the air
May 2012
April 2012
March 2012
February 2012
January 2012
December 2011
November 2011
October 2011
September 2011
August 2011
Guatemala 2011
June 2011
Flipside 2011 from the air
May 2011
Jordan's 14th Birthday
April 2011
Nova Crane Mobile
Knitted Wonderland
March 2011
Jordan Self portait
Florida Beach
Disney World
Shuttle Launch
February 2011
January 2011
School Photos 2010
December 2010
November 2010
Art Outside 2010
October 2010
September 2010
August 2010
Girls Rock Camp 2010
Deck Project
July 2010
Summer Camp
New York 2010
Ocracoke 2010
June 2010
Terra Nova Art Fair 2010
Flipside 2010 from the air
AMS Candids
May 2010
School Photos 2010
April 2010
Bamberger Ranch Field Trip
March 2010
February 2010
January 2010
December 2009
November 2009
Rock Art Foundation Rendezvous 2009
October 2009
September 2009
August 2009
Frio River 2009
July 2009
Fossil Rim Wildlife Center
Ballet Recital 2009
June 2009
Rock Art Trip
Jada Paintings
AMS Father Daughter Retreat
May 2009
Nova Spring Camping 2009
April 2009
March 2009
February 2009
2009 Calendar Collages
January 2009
Christmas 2008
December 2008
Rock Art Foundation Trip
November 2008
Rennaissance Festival
October 2008
September 2008
We're on a Boat!
Cathedral of Junk
August 2008
New Orleans
July 2008
Gulf Shores Trip
June 2008
Kitchen Remodeling
Garden Tour 2008
Jordan Upper El Play
May 2008
Jada to Mo Ranch 2008
Beach Trip with Natinskys
April 2008
Mo Ranch 2008
Lake Buchanan Easter
March 2008
Marathon Kids Final Mile
February 2008
Ruidoso Ski Trip 2008
January 2008
First Night 2008
December 2007
November 2007
Maker Faire
October 2007
September 2007
Playa del Carmen
Jada's 8 and a half Birthday
July 2007
June 2007
Ocracoke 2007
Terra Nova Art Fair 2007
Ballet Recital 2007
May 2007
Houston Grand Prix 2007
April 2007
Heart of Texas Regatta
Cecropia Moth
March 2007
Intel Shell Demolition
February 2007
2007 Calendar Collages
January 2007
December 2006
November 2006
Lake Travis Weekend
October 2006
September 2006
Summer Vacation In Central Texas
August 2006
Steve Visit to NYC
July 2006
June 2006
Ballet Recital 2006
Houston Grand Prix 2006
May 2006
Jordan's Trip To Mo Ranch
April 2006
March 2006
February 2006
New House
January 2006
Taos Ski Trip 2005
December 2005
November 2005
October 2005
September 2005
August 2005
Hill Country Vacation
July 2005
June 2005
Ocracoke
May 2005
Art Car Parade
April 2005
March 2005
February 2005
January 2005
Tsunami Damage
December 2004
November 2004
October 2004
September 2004
Jordan and Jada at Camp Grandma
August 2004
July 2004
South Padre 2004
June 2004
May 2004
April 2004
March 2004
February 2004
January 2004
December 2003
November 2003
Speedy Weedfeed
October 2003
September 2003
August 2003
South Padre Vacation
July 2003
Summer Vacation 2003
June 2003
May 2003
April 2003
March 2003
February 2003
January 2003
December 2002
November 2002
October 2002
September 2002
August 2002
July 2002
Summer Vacation 2002
June 2002
May 2002
April 2002
March 2002
February 2002
January 2002
December 2001
November 2001
October 2001
September 2001
August 2001
Cabo San Lucas
July 2001
June 2001
May 2001
April 2001
March 2001
February 2001
January 2001
December 2000
November 2000
October 2000
September 2000
August 2000
July 2000
June 2000
May 2000
April 2000
March 2000
February 2000
January 2000
December 1999
November 1999
October 1999
September 1999
August 1999
July 1999
June 1999
May 1999
April 1999
February 1999
January 1999
December 1998
October 1998
July 1998
March 1998
January 1998
December 1997
October 1997
August 1997
July 1997
April 1997
December 1996
August 1996
April 1996
December 1995
November 1995
October 1995
June 1995
May 1995
1995
October 1994
October 1993
October 1992
Barcelona Olympics
May 1992
Our Wedding
June 1990
December 1988
April 1988
photo album circa 1988
May 1987
June 1986
May 1985
1985
Germany Trip
Germans in the USA
Skiing Lake Tahoe
July 1982
May 1982
September 1980
Morningside Muggers
July 1980
September 1979
August 1978
December 1977
August 1976
1976
August 1974
July 1974
Spring 1973 - Key Largo, Disneyworld
April 1972 to April 1973
Summer 1971 to Spring 1972
May 1970
November 1968
Scott's birth day in Italy
November 1967
October 1967
July 1967
Steve's birth day in Italy
1961 to 1965 Alpha Chi Omega and Purdue
January 1938
July 1884
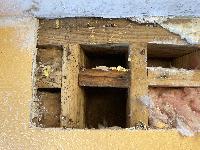
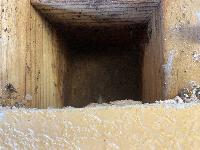
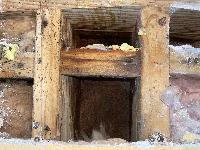
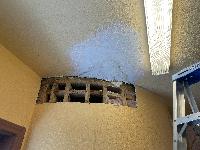
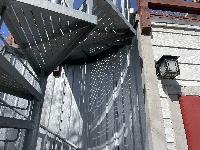
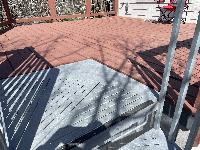
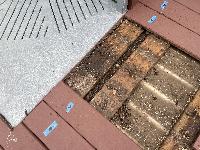
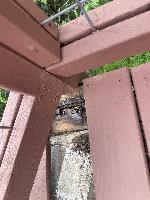
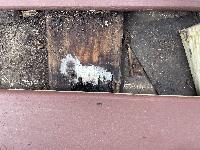
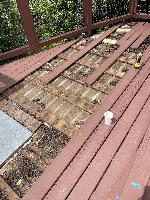
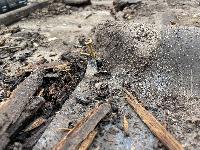
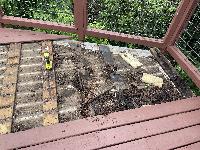
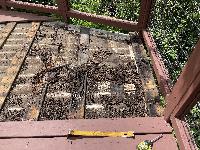
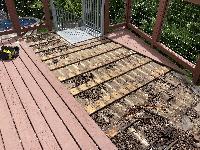
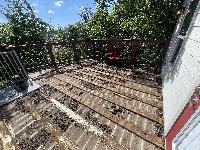
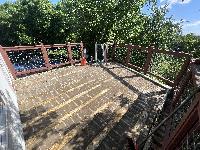
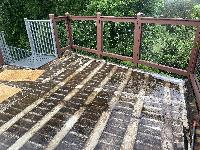
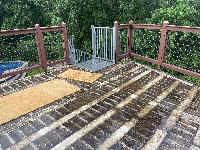
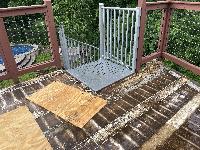
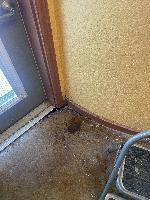
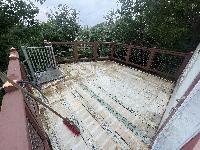
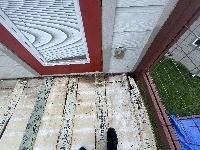
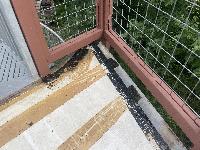
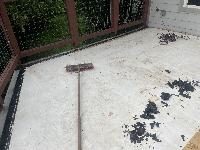
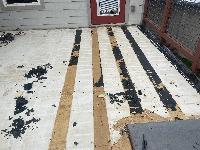
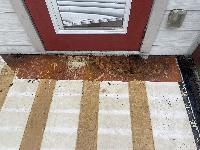
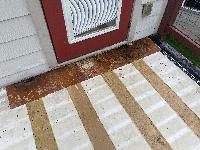
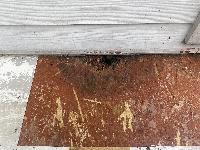
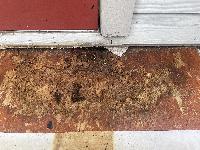
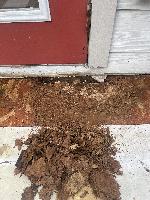
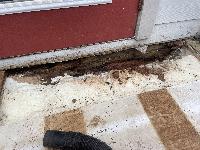
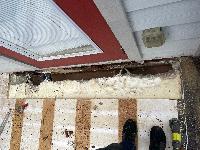
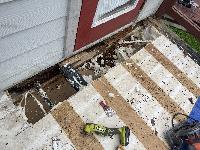
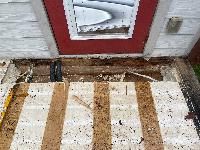
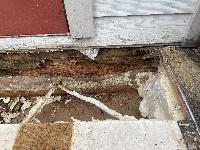
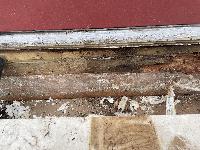
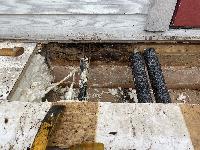
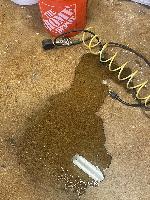
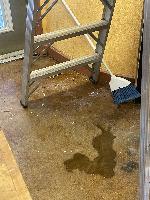
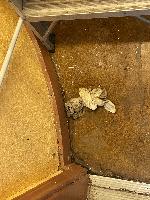
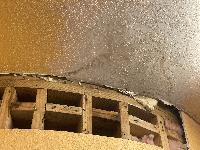
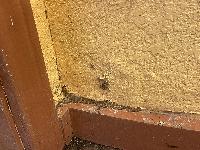
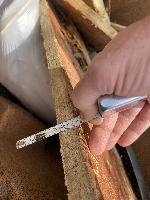
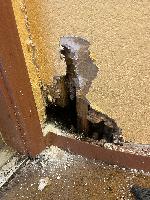
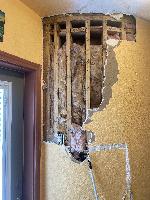
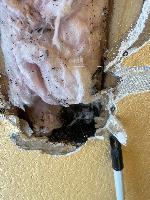
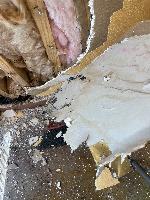
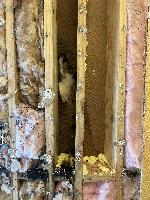
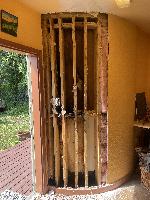
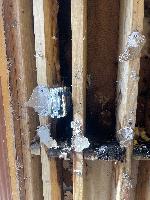
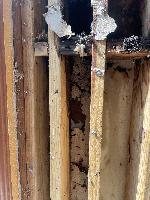
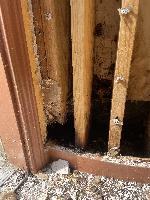
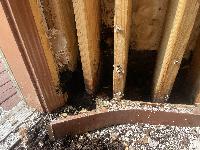
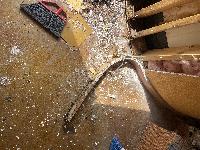
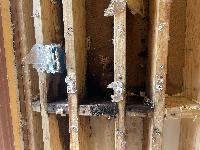
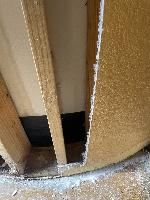
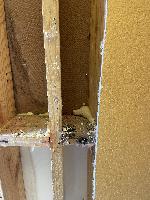
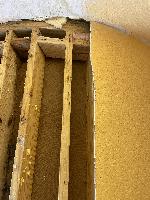
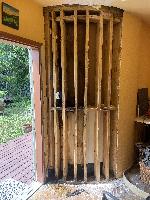
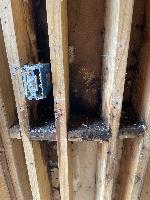
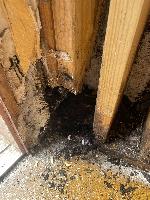
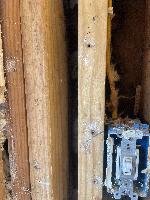
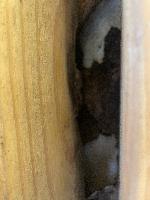
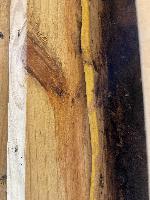
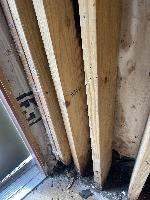
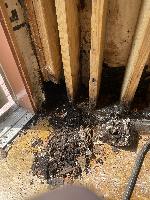
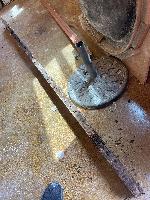
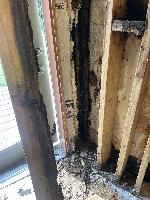
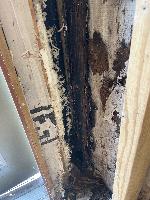
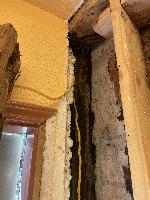
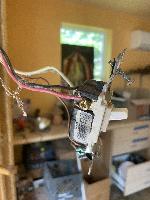
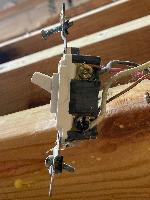
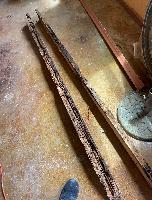
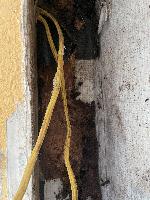
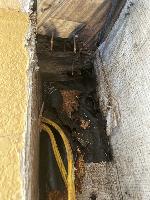
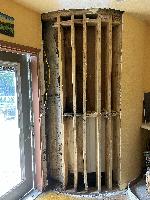
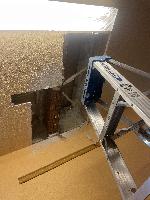
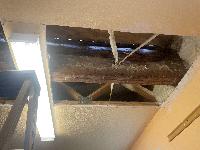
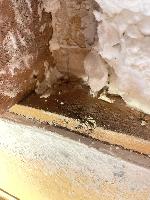
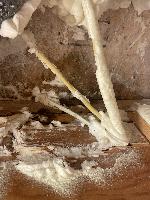
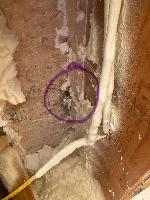
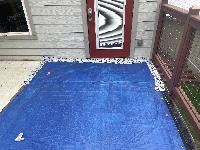
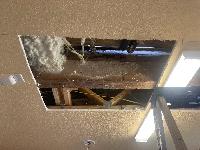
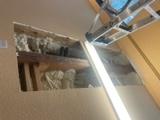
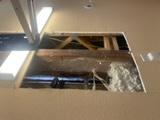
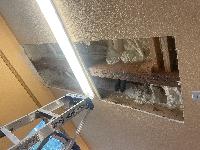
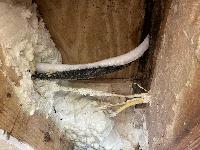
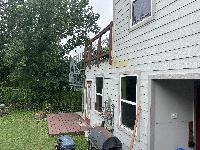
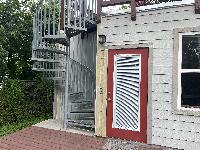
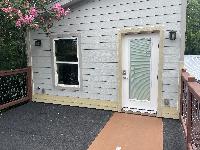
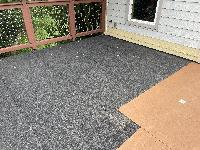
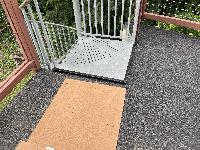
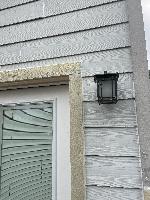
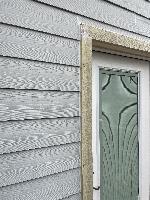
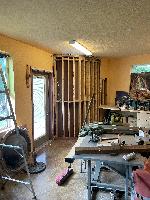
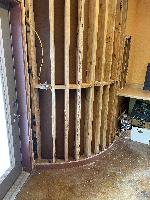
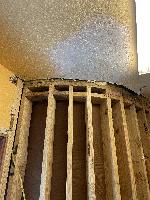
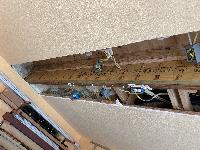
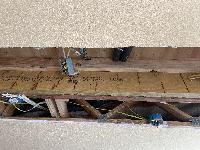
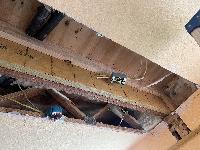
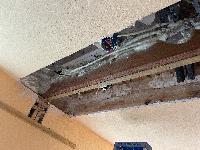
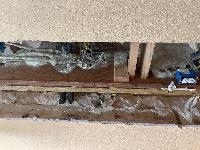
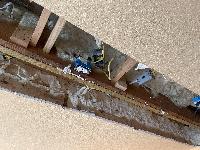
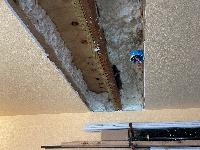
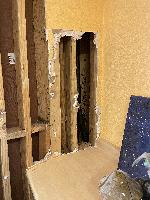
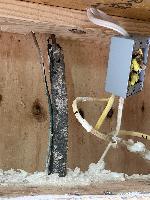
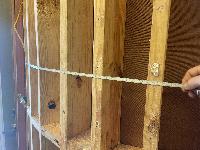
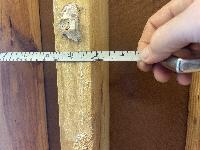
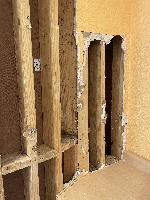
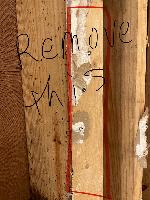
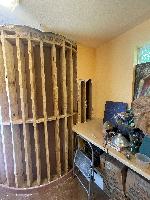
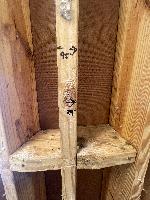
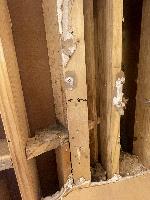
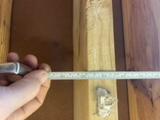
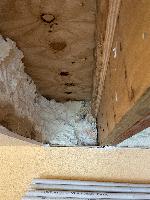
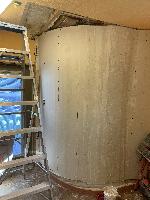
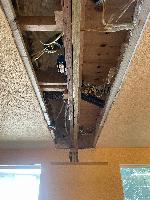
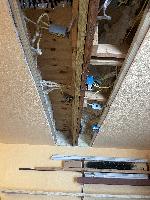
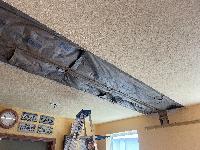
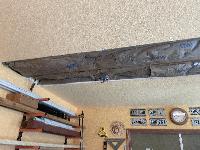
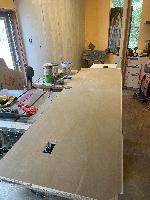
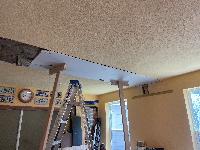
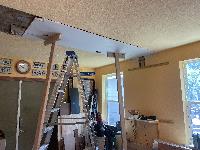
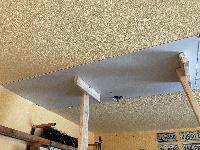
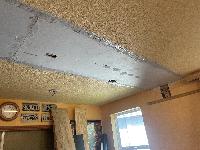
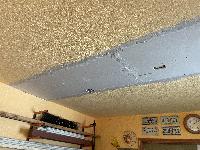
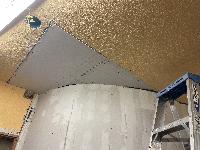
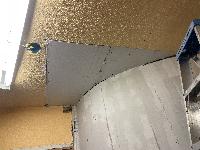
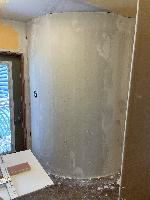
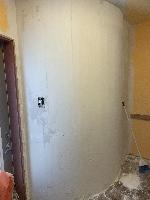
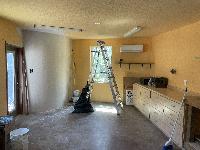
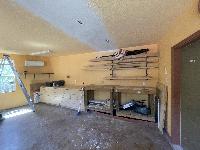
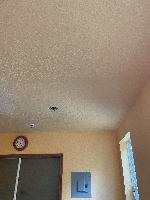
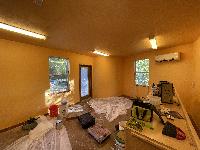
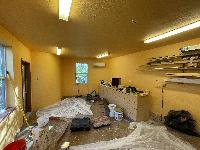
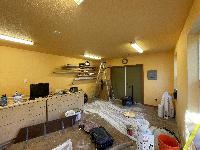
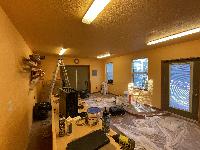
This structure was built in 2014, and some water damage was found in the shop space beneath the deck. The old deck was removed because of damage from bad drainage. Underneath, damage to the roof and framing was also discovered. After repairing the framing and the roof, the plan is to apply liquid waterproofing, then another layer of waterproof membrane, then a new composite deck. Several composite deck products were found that have integrated water channels to keep most of the water from even reaching the membrane underneath. Repairs to the junctions at the stairs and repairing water ingress routes near the door are also going to be done.
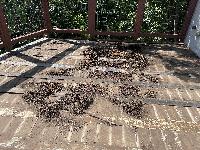
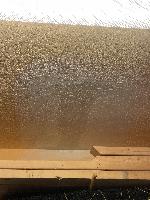
The roof is sloped very slightly for drainage, but the debris has kept that from being very effective.

